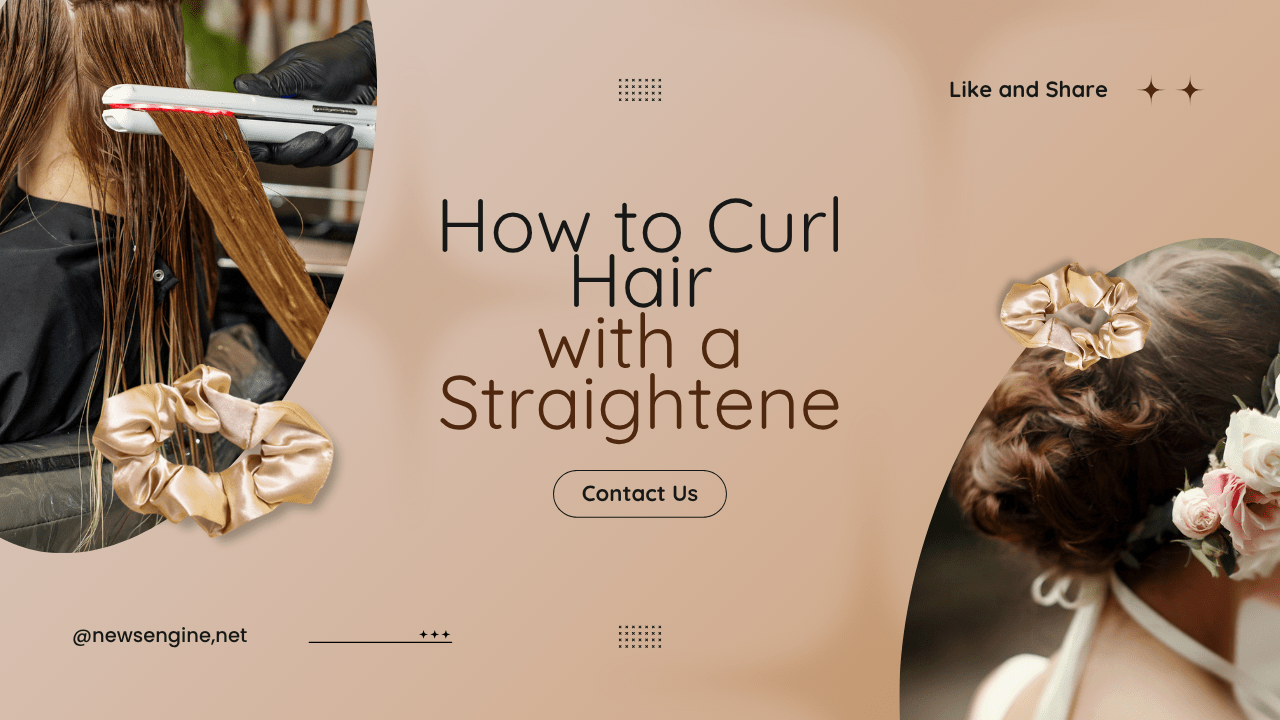
How to Curl Hair with a Straightener
Creating beautiful curls doesn’t require a traditional curling iron. A straightener can give you waves, spirals, and soft bends with just a few simple techniques. Here’s a clear, non-repetitive guide to help you achieve salon-style results at home.
Prepare the Hair
Start by washing and conditioning your hair with lightweight products that won’t weigh it down. Use a heat-protectant spray on damp strands to shield them from high temperatures. Once applied, dry your hair completely, as curling damp hair can cause damage and uneven texture.
Choose the Right Straightener
For smooth, defined curls, select a flat iron with rounded edges and adjustable heat settings. Plates between 1–1.25 inches work best because they grip the hair without creating harsh creases. Set the temperature according to your hair type—lower for fine hair and higher for thick strands.
Section the Strands
Divide your hair into manageable parts. Clip the upper layers away and start curling from the bottom. Smaller sections will give tighter curls, while larger pieces produce soft, loose waves. This method ensures even styling throughout the head.
Create the Curl
Hold the straightener vertically, clamp a small section near the roots, and rotate the iron away from your face. Slowly glide it down the length of the hair while keeping the twist consistent. The motion should feel like pulling a ribbon across scissors—smooth and continuous. Repeat until the entire head is curled.
Shape and Set
Allow the curls to cool before touching them. Once cooled, gently separate them with your fingers to achieve your preferred texture. Finish with a light-hold hairspray or serum to add shine without stiffness.
Extra Tips for Better Results
- Avoid using maximum heat unless necessary.
- Make sure each section is tangle-free before curling.
- Rotate the straightener in alternate directions for a natural look.
- Don’t curl the same piece repeatedly; let it cool before re-styling.


