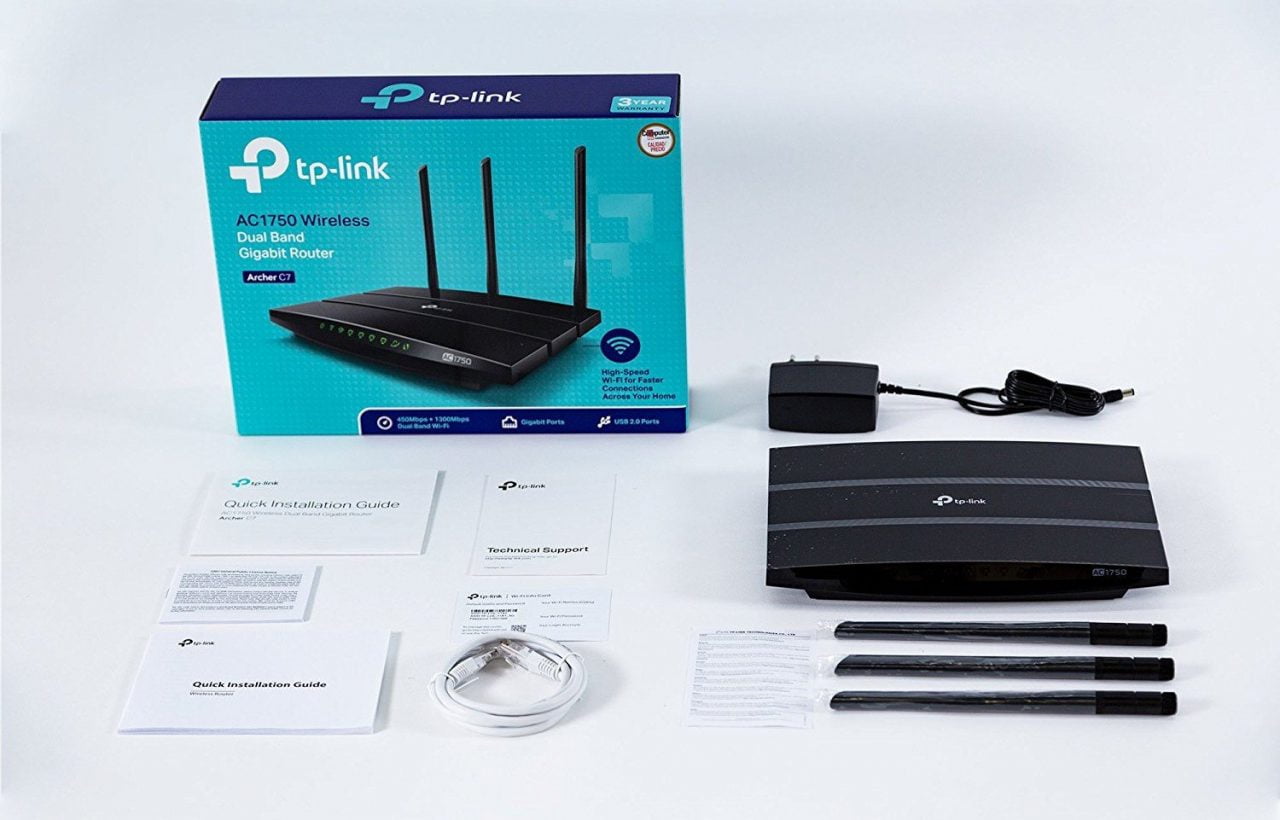
The TPLink Archer A7 Router is a dual-band wireless router that comes with three high gain external antennas. The three antennas are enough to give you stability and reliability to the network connection. It supplies a rapid wireless internet speed of 1300MBps and 450MBps with 5GHz and 2.4GHz frequency bands respectively.
Online gaming and HD movie streaming can be done with its fast speed and reliable connectivity. The four Gigabit ports allow you to connect a gaming router, computer, and many more devices using a wired connection. It easily runs with maximum WiFi communication standards. Using the WPS button, you can do the setup with one button.
It is suitable for large platforms such as airports, restaurants, malls, and other places because of its long 2500 square feet coverage capacity. The fast and compelling CPU allows you to connect almost 50+ devices at a time.
The tplink router login operation is also smooth; you need the web browser to finalize it. Not only the browser, but the connection with Alexa also enables you to manage the device by giving voice commands.
Trick To Connect TPLink Archer A7 Router With Alexa
Connecting the Archer A7 with Alexa enables you to control the network by giving voice commands. Before going to connect both devices, ensure that you have an Alexa device and a stable internet connection.
A TPLink account is mandatory to use with Alexa and a mobile phone in which the Alexa app is installed. If you have all these things, then you are ready to make the connection between the Archer A7 device and the Alexa. To do it, follow these uncomplicated steps.
Sign In With Amazon ID
Firstly, Download the Alexa app on the mobile phone or tablet and install it. Open the Alexa app; you will see two blank fields with email or phone number and passphrase. Now enter the Amazon ID details. The welcome message will appear with Good morning, or Good afternoon, depending upon the time you are using.
Search for TPLink Router
Look for the three lines on the left, tap it. After tapping the three lines, tap on Skills and Games from the list. The search box will appear. Type the TPLink router on it. You will find two matches, TPLink Kasa and TPLink Router, tap on the TPLink router. The tab with enable to use will be seen when you click on the TPLink router.
Sign In With TPLink ID
After clicking it, it will forward you to the next interface with TPLink ID. Now enter the TPLink ID by filling in the details. On the next interface, an Authorized option will also appear, hit it.
It also means the TPLink ID is successfully connected to the Alexa app; you can now start giving voice commands to the Alexa. Just say Alexa, ask… Now we tell you the tips and tricks to set up your OneMesh network on your TPLink Archer A7 router with Alexa.
How to Setup OneMesh Network on Your TPLink Archer A7 Router?
To set up the OneMesh Network on Your TPLink Archer A7, follow these straightforward steps.
- Firstly, open your Chrome, Firefox, Safari, or any other browser and type tplinkwifi. Now enter the TPLink ID details.
- After you accomplish the login procedure, go to the basic option.
- Now click on OneMesh or advanced options, and then to the OneMesh under the wireless icon.
- After clicking the OneMesh network, you can now connect various numbers of extenders to the Archer A7 device.
To set up the extenders to the Archer A7 OneMesh network, go to the OneMesh network list of the device or visit Available OneMesh devices. There is an icon with ADD button that you can also see. Tap on it to connect the new extender.
After connecting the extender to the OneMesh Network, you can surf the wireless internet connection with a single network. Connecting the extender to the OneMesh network will boost the network signal as well as speed.


